
Desserts would be the ideal way to convey “I Love You” if food had a language. Desserts have my heart.
Do you concur? So this year2023, modify the routine and indulge guilt-free in dessert before supper, dessert lovers and “Chef de cuisine de Ghar”. All because of these nutritious dessert recipes.
So why are you still waiting? Make 2023 sweeter with these 10 delectable treats that are also nutritious.
1. Tasty fruit salad with honey – lime

An easy recipe for a tasty fruit salad with a honey-lime dressing is provided below:
Ingredients:
• a variety of fresh fruits (including watermelon, kiwi, mango, pineapple, strawberries, blueberries, and berries)
•Honey, 2 tablespoons
•1 lime’s juice
•Fresh mint leaves can be used as a garnish.
Instructions:
•Fruits should be washed and sliced into bite-sized pieces. You can use whatever fruit combination you choose.
•To make the dressing, combine the lime juice and honey in a small basin.
•The honey-lime dressing should be drizzled over the prepped fruits and gently mixed in to coat them all.
•To allow the flavors to mingle, place the fruit salad in the refrigerator for at least 30 minutes.
•Fresh mint leaves can be used as a garnish before serving the salad to add even more freshness.
•Enjoy your sweet and hydrating honey-lime.
2• Parfait with Greek Yogurt

Here is a quick recipe for a parfait with Greek yogurt:
Ingredients:
•Greek yogurt, one cup
•1 cup of cereal
•1 cup of a variety of fresh fruits, such as berries, bananas, and kiwis
•(Optional) Honey for drizzling
•(Optional) Nuts or seeds for more crunch
Instructions:
•Place half of the Greek yogurt in the bottom of a glass or bowl.
•Granola should be sprinkled on top of the yogurt.
•After that, top the granola with a layer of assorted fresh fruits.
•With the remaining yogurt, granola, and fruits, repeat the layering.
•Pour some honey on top if you’d like some more sweetness.
•To add more texture and taste to the final layer, you can optionally sprinkle nuts or seeds on top.
•Serve right away or store in the fridge for a cool and nutritious treat.
•Take pleasure in your tasty Greek yogurt parfait!
3• Baked apple with cinnamon
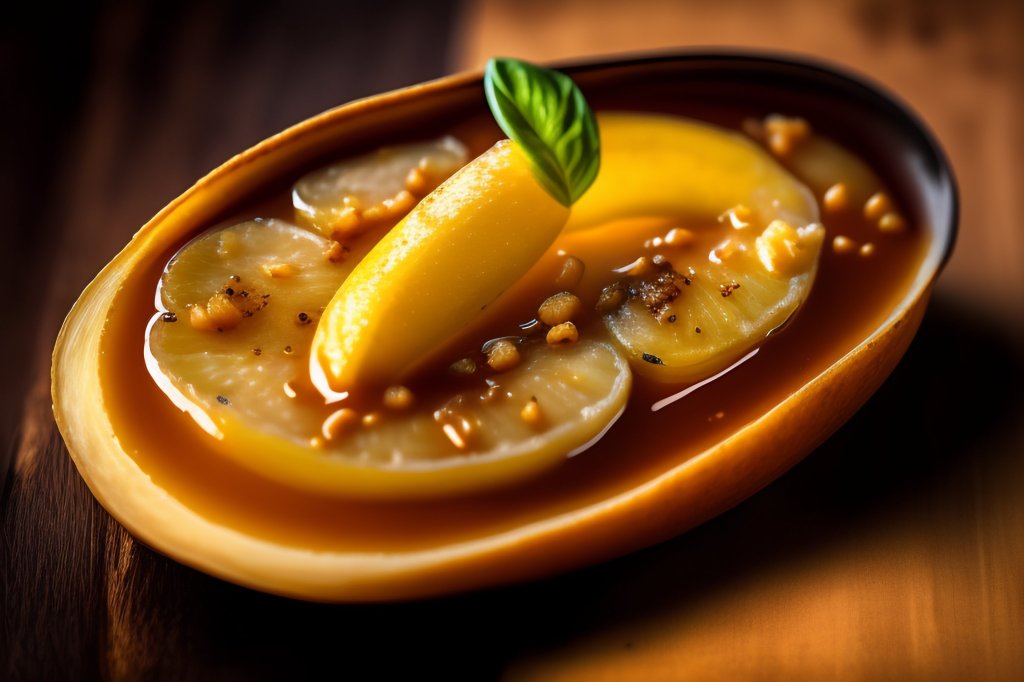
baked apples with cinnamon:
Ingredients:
•4 medium-sized apples (any sweet variety like Honeycrisp or Fuji)
•2 tablespoons unsalted butter, melted
•2 tablespoons brown sugar
•1 teaspoon ground cinnamon
Instructions:
•Preheat your oven to 375°F (190°C).
•Wash the apples thoroughly and remove the core, either using a corer or a knife. You can leave the skin on for added texture and nutrients.
•Place the cored apples in a baking dish.
•In a small bowl, mix the melted butter, brown sugar, and ground cinnamon until well combined.
•Spoon the butter mixture evenly over each apple, making sure to coat them completely.
•Bake the apples in the preheated oven for about 25-30 minutes or until they are tender and slightly caramelized.
•Once baked, remove the apples from the oven and let them cool for a few minutes.
•You can serve the baked apples as is, or you can pair them with a scoop of vanilla ice cream or a dollop of whipped cream for an extra treat.
•Enjoy your delicious and comforting baked apples with cinnamon!
4•Mixed Berry Sorbet
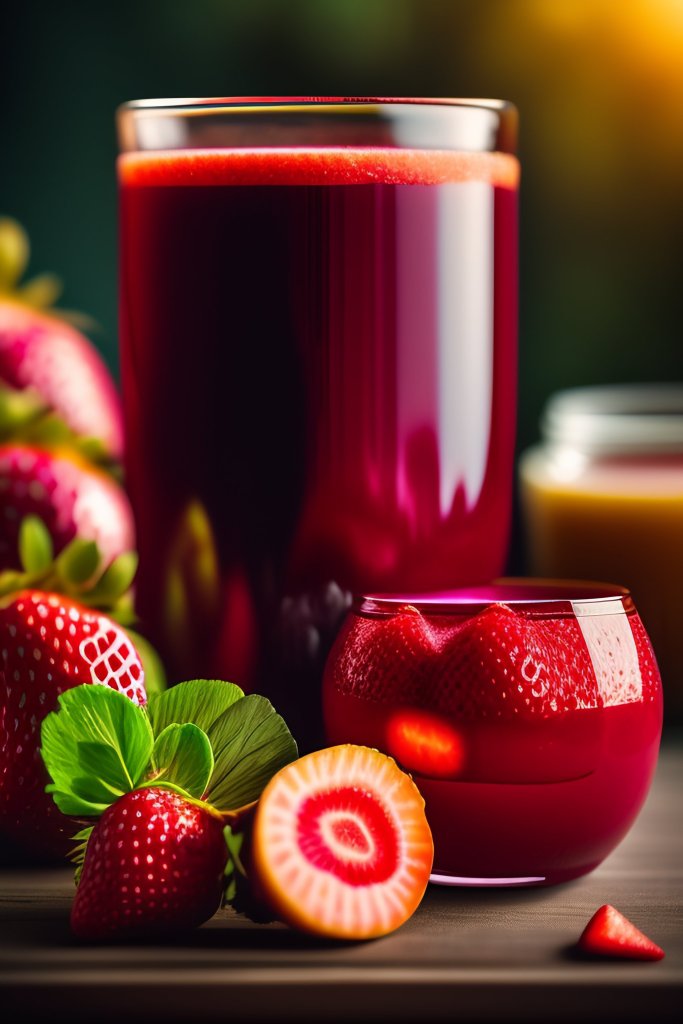
Here is a basic recipe for mixed-berry sorbet:
Ingredients:
•3 cups of mixed berries, including blackberries, raspberries, blueberries, and strawberries
(Adjust to taste depending on how sweet the berries are) 1/2 cup granulated sugar
•14 cup of water
•1 tablespoon of lemon juice, fresh
Instructions:
•The berries were washed and dried. Eliminate any leaves or stalks.
•The fruit, sugar, and water should all be combined in a pot. For about 5 minutes, cook, sometimes stirring, over medium heat, until the sugar melts and the berries soften.
•Turn off the heat and allow the mixture to cool to room temperature.
•Transfer the berry mixture to a blender or food processor once it has cooled, and then process until smooth.
•Pulse a few times after adding the fresh lemon juice to the combined mixture.the combining times.
•When the mixture has the consistency of sorbet, pour it into a shallow dish or an ice cream machine and freeze it for at least 3 to 4 hours.
•If you use an ice cream machine, adhere to the directions provided by the maker.
•Allow the sorbet to soften slightly for a few minutes at room temperature before serving. Take pleasure in your cooling mixed-berry sorbet.
•Add more or less sugar and lemon juice to suit your preferred level of sweetness and bitterness. Have fun eating your delicious homemade sorbet!
5• Cheese cake with an oat crust
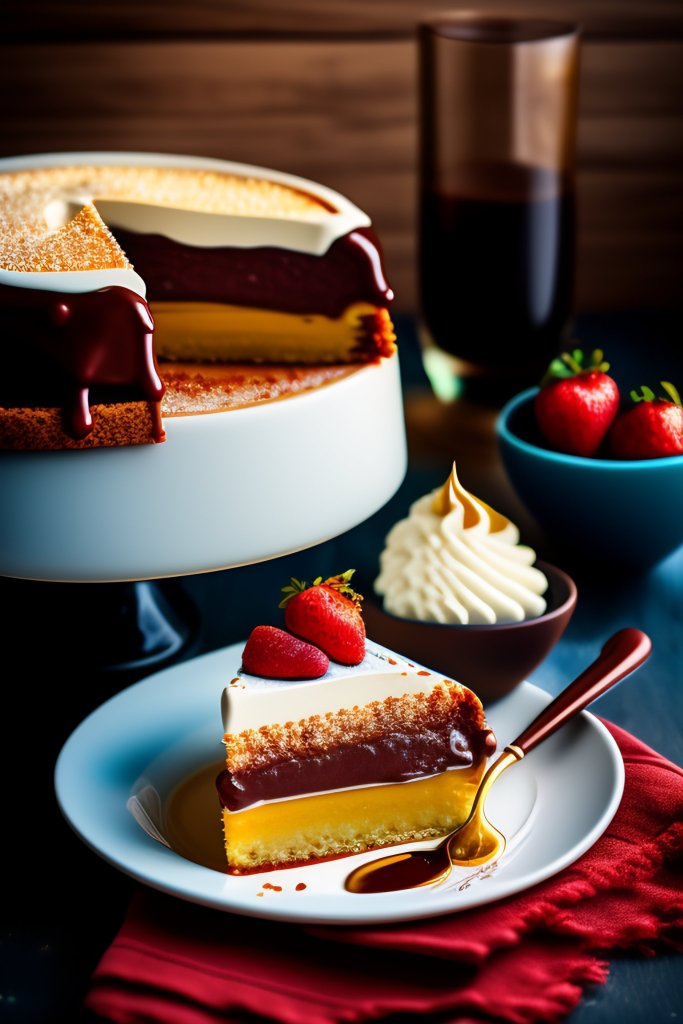
The following is a quick recipe for a tasty cheesecake with an oat crust:
What goes into the crust:
•Rolling oats, 1 1/2 cups
all-purpose flour, half a cup
50 g of brown sugar
•Melted half a cup of unsalted butter
the filling’s components are:
•24 oz (680 g) softened cream cheese
3 large eggs and 1 cup of granulated sugar
Vanilla extract, 1 teaspoon
•1/fourth cup sour cream
•1/fourth cup heavy cream
Instructions:
•Grease a 9-inch springform pan and preheat the oven to 350°F (175°C).
•Rolling oats, all-purpose flour, brown sugar, and melted butter are combined in a bowl to make the crust. Combine thoroughly after mixing.
•To create a uniform crust, press the oat mixture into the bottom of the springform pan that has been prepared.
•After 10 minutes in the preheated oven, remove the crust.while you make the filling, remove it from the oven and let it cool.
•Cream the softened cream cheese and sugar until it is smooth and creamy in a sizable mixing bowl.
•One at a time, add the eggs, thoroughly combining after each addition. Add the vanilla extract and stir.
•As soon as the filling is well-combined and smooth, fold in the heavy cream and sour cream.
•Over the chilled oat crust in the springform pan, pour the cheesecake filling.
•For 45 to 50 minutes, or until the borders are set and the middle is just barely jiggly, bake the cheesecake in the oven.
•The cheesecake should be left in the oven to cool for about an hour after the oven has been turned off.
•Taking the cheesecake out of the oven,then allow it to cool while putting the filling together.
•Cream the softened cream cheese and sugar until it is smooth and creamy in a sizable mixing bowl.
•One at a time, add the eggs, thoroughly combining after each addition. Add the vanilla extract and stir.
•As soon as the filling is well-combined and smooth, fold in the heavy cream and sour cream.
•Over the chilled oat crust in the springform pan, pour the cheesecake filling.
•For 45 to 50 minutes, or until the borders are set and the middle is just barely jiggly, bake the cheesecake in the oven.
•The cheesecake should be left in the oven to cool for about an hour after the oven has been turned off.
•Take the cheesecake out of the oven.
6• Chocolate Fudge

Here is a basic recipe for chocolate fudge:
Ingredients:
•Semi-sweet chocolate chips in two cups
1 can of sweetened condensed milk, 14 ounces.
•Unsalted butter, 1/4 cup
Vanilla extract, 1 teaspoon.
•Optional garnishes: sea salt, chopped nuts, or sprinkles
Instructions:
•To make removal later on easier, grease and line an 8×8-inch baking dish with parchment paper.
•Melt the chocolate chips, butter, and sweetened condensed milk in a saucepan over low heat, stirring regularly until smooth.
•After everything has melted and been blended, turn off the heat and add the vanilla essence.
•Spreading it equally, pour the mixture into the baking dish that has been prepared.
•If desired, sprinkle your preferred toppings over the fudge.After allowing the fudge to cool for about two hours at room temperature, place it in the refrigerator for a further two hours, or until it becomes firm.
•When the fudge is set, take it out of the pan, cut it into squares, and devour!
•The chocolate fudge should be kept in the refrigerator or at room temperature in an airtight container. Take pleasure in your mouthwatering homemade chocolate fudge!
7• Straw Berry Frozen Yogurt

Here is a quick recipe for strawberry frozen yogurt:
Ingredients:
•2 cups strawberry frozen
Yogurt, plain, one cup
•1/4 cup maple syrup or honey, taste-tested
•1 teaspoon optional vanilla extract
Instructions:
•Frozen strawberries, plain yogurt, honey (or maple syrup), and vanilla extract (if using) should all be combined in a blender or food processor.
•The ingredients should be thoroughly blended to produce a smooth and creamy texture.
•Taste the mixture and, if necessary, add additional honey or maple syrup to increase the sweetness.
•Transfer the mixture to a container with a lid until it is smooth and as sweet as you like.
•For 2-4 hours, or until the frozen yogurt is set, cover the container and put it in the freezer.
•Allow the frozen yogurt to settle before serving.a few minutes at room temperature to soften somewhat for simpler scooping.
•Enjoy the strawberry frozen yogurt you created yourself!
•You are welcome to get inventive and change the flavor to your liking by adding other fruits or toppings. Enjoy!
8• Peanut Butter Crunch Brownies

An easy recipe for Peanut Butter Crunch Brownies is provided below:
Ingredients:
•1 cup (2 sticks) of melted unsalted butter
•2 cups sugar, granulated
•Four big eggs
•Vanilla extract, two tablespoons
•all-purpose flour, 1 cup
•Unsweetened cocoa powder, 3/4 cup
•A half-teaspoon of baking powder
0.5 teaspoons of salt
•one-half cup of creamy peanut butter
•1 cup of chocolate chips, semisweet
•1 cup Rice Krispies or other crunchy rice cereal
Instructions:
•Turn on the oven to 350 °F (175 °C). For simple removal, grease and line a 9×13-inch baking sheet with parchment paper.
•Whisk the sugar and melted butter together thoroughly in a big mixing dish. One at a time, add the eggs, thoroughly combining after each addition. Add the vanilla extract and stir.Sift the flour, baking soda, salt, and cocoa powder in a separate basin. Stirring occasionally, add the dry ingredients in small amounts to the wet components.
•Spread out the brownie batter evenly after adding approximately two thirds of it to the prepared pan.
•Heat the peanut butter in a microwave-safe bowl for 20 to 30 seconds, or until it begins to melt. Spoons of peanut butter should be dropped on top of the brownie batter in the pan.
•Spread the remaining brownie batter over the peanut butter dollop portions to completely encircle them.
•On top of the brownie batter, strew the crunchy rice cereal and semisweet chocolate chips.
•Bake for about 25 to 30 minutes in the preheated oven, or until a toothpick inserted in the center comes out clean.
9. Baked Chocolate Doughnuts
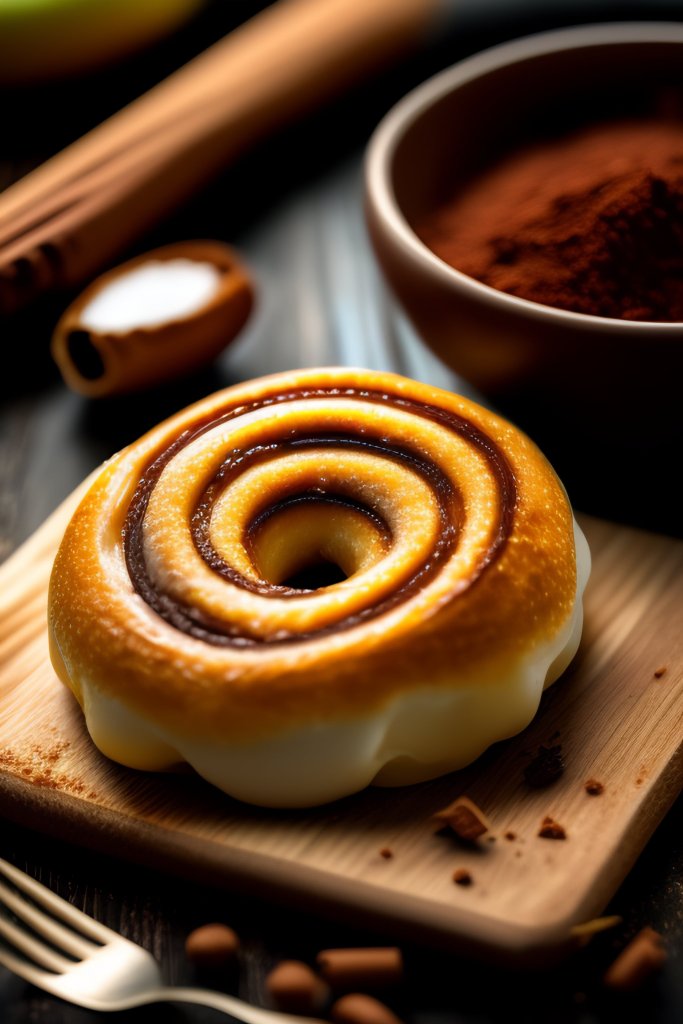
An easy recipe for baked chocolate doughnuts is provided below:
Ingredients:
•all-purpose flour, 1 cup
Unsweetened cocoa powder, 1/4 cup
Granulated sugar, 1/2 cup
•one tablespoon of baking powder
Baking soda, 1/4 teaspoon
•14 teaspoon of salt
•50 ml of buttermilk
•Vegetable oil, 1/4 cup
•One big egg
•Vanilla extract, 1 teaspoon
Instructions:
•Turn on the oven to 350 °F (175 °C). Use butter or cooking spray to grease a doughnut pan.
•Mix the flour, sugar, baking soda, salt, baking powder, and cocoa powder in a sizable mixing dish.
•Combine the buttermilk, vegetable oil, egg, and vanilla extract in a separate basin.
•After adding the liquid components, mix the dry ingredients only until they are barely blended. Don’t over-mix the batter, please.
•Pour the batter into the doughnut pan that has been prepared, filling each It is about two thirds filled.
•For about 10 to 12 minutes, or until a toothpick inserted into the center of a doughnut comes out clean, bake the doughnuts in the preheated oven.
•The doughnuts should be taken out of the oven and allowed to cool for a few minutes in the pan before being moved to a wire rack to finish cooling.
•For added sweetness and taste, you can optionally top the chilled doughnuts with your preferred glaze or icing.
•Enjoy your handcrafted, scrumptious chocolate doughnuts!
10. Healthy Kulfi

Here is a recipe for kulfi, a well-liked Indian frozen delicacy, that is both sugar-free and healthy:
Ingredients:
•Any other plant-based milk, or two cups of unsweetened almond milk
•1 cup Greek yogurt, or a dairy-free substitute for vegans
•For extra texture, add 1/4 cup of chopped nuts (such as almonds or pistachios).
•Cardamom powder, 1/4 teaspoon
•Saffron threads, 1/4 teaspoon, 1 tablespoon warm water
•1-2 teaspoons of natural sweetener, according to taste (such as stevia, erythritol, or any other sugar alternative).
Instructions:
•Blend the unsweetened almond milk, Greek yogurt, or dairy-free substitute thoroughly in a mixing bowl.
•Mix well before adding the cardamom powder and saffron that has been soaked in water.
•Once you’ve reached the desired degree of sweetness, taste the mixture and gradually add your favourite natural sweetener. Just be aware that everyone has a different liking for sweetness.
•Add the chopped nuts now if you want your kulfi to have some texture.
•Fill small cups or kulfi molds with the kulfi mixture.
•Place a popsicle stick in the middle of each kulfi and cover the molds with foil or lids to prevent leakage.
•Once the kulfi is totally frozen, place the molds in the freezer and allow them set for at least 4-6 hours.
•Remove the molds from the freezer once the kulfi has frozen and give them a few minutes to come to room temperature. The kulfi will be simpler to unmold as a result.
•To After carefully removing the kulfi from the molds, run the molds under warm water for a little while.
•Enjoy your wholesome, sugar-free kulfi! It’s a delicious frozen dessert that you may have guilt-free on warm days or whenever the need strikes.
•After carefully removing the kulfi from the molds, run the molds under warm water for a little while.
•Enjoy your wholesome, sugar-free kulfi! It’s a delicious frozen dessert that you may have guilt-free on warm days or whenever the need strikes.
